

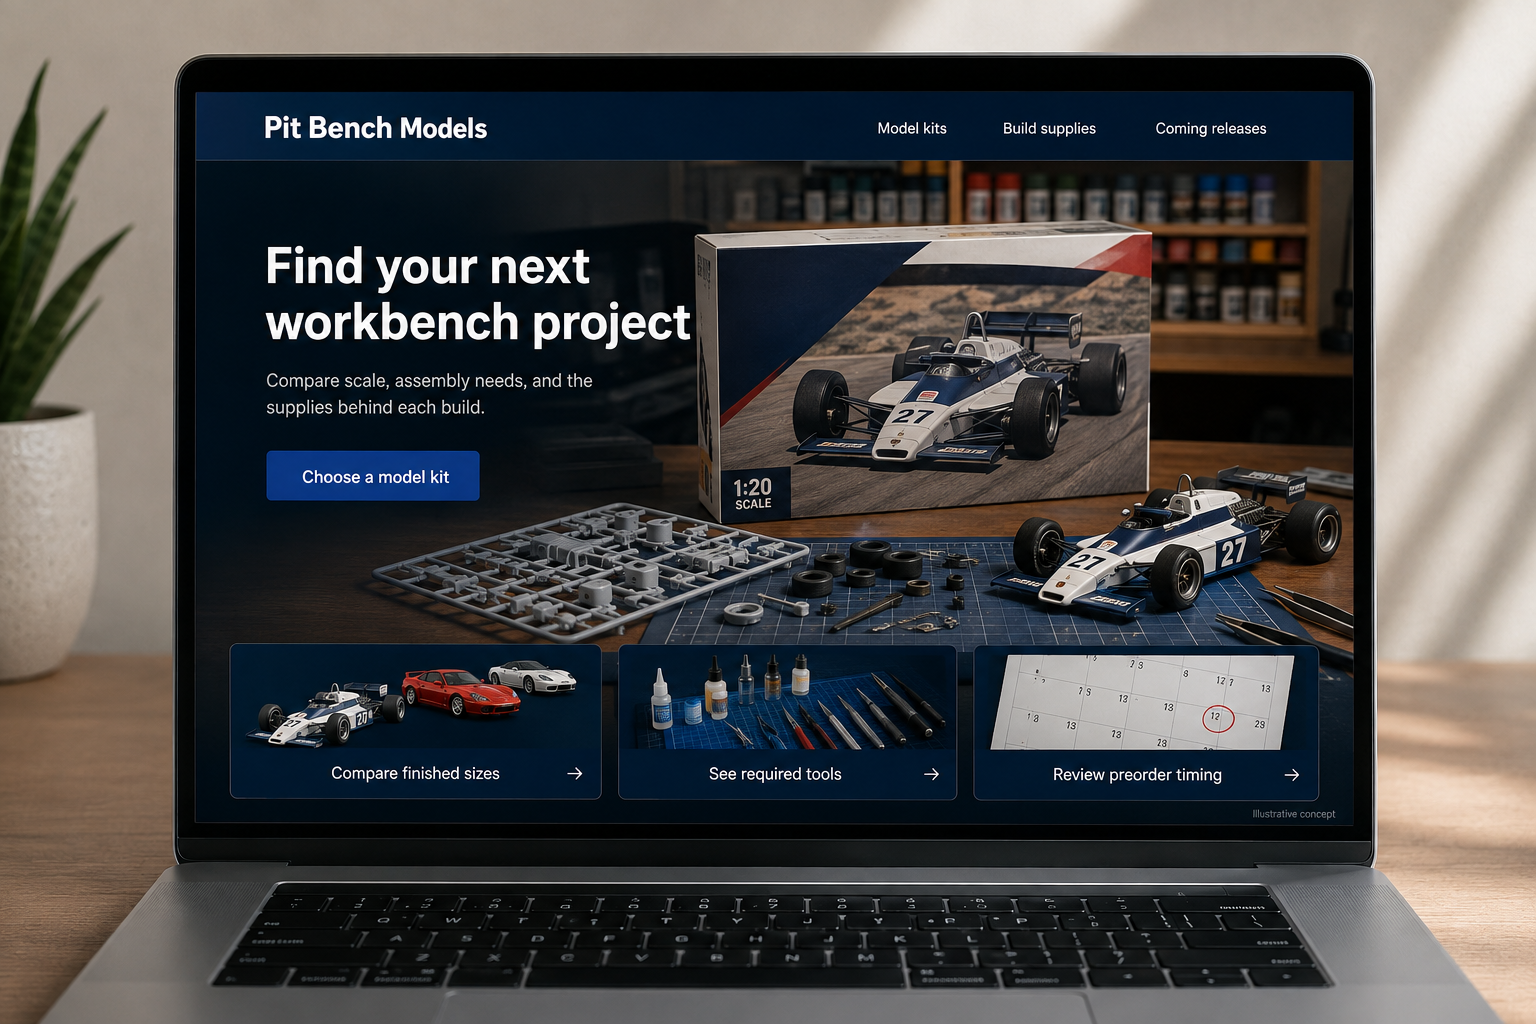
Explore this layout
Find your next workbench project
Compare scale, assembly needs, and the supplies behind each build.
The main action is “Choose a model kit”. Supporting sections cover Compare finished sizes, See required tools, Review preorder timing.

A motorsport model can be a first weekend project or a detailed build for an experienced hobbyist. A hypothetical Indiana model shop should make that distinction before the customer falls for the box artwork. Scale, assembly requirements, included parts, and stock status belong near the beginning of the page because they shape the entire purchase.
Use scale as a practical browsing tool
Offer scale filters and show the finished model’s approximate dimensions when the manufacturer provides them. A side-by-side illustration can explain why two kits of the same subject occupy different amounts of shelf space. Identify whether a listing is an unassembled kit, a finished display model, or an accessory set. Keep those labels on collection cards, since a buyer arriving from search may never read the shop’s general introduction.
Describe the work inside the box
List the assembly method and the paints, adhesives, or tools required but not included. Show sprues or parts in addition to the manufacturer’s box image when appropriate images are available. Explain skill labels in plain terms rather than assuming that every brand’s difficulty number means the same thing. A newcomer should be able to choose a project knowing whether it involves painting small details or simply connecting prefinished pieces.
Give preorders their own expectations
Separate an available kit from a forthcoming release using visible stock labels. Explain when payment is taken, how release estimates are communicated, and what happens when a basket combines in-stock and preorder items. Keep estimated dates editable and distinguish them from guaranteed dispatch dates. An update page or order message should use the same product identity so a buyer can connect a changed release window with the kit they actually reserved.
Help a builder assemble a complete project
A build guide can list the exact kit version and the supplies used in the example. Link paints by their stated specification and let customers decline tools they own. Publish finished-project galleries with factual build notes rather than invented customer praise. Track accessory returns, preorder questions, and visits that lead to a suitable starter project. Those signals show whether the website is helping buyers choose a workable build, not merely an attractive subject.
Before you launch
- Label kits separately from finished models.
- Show supplies excluded from the box.
- Test mixed preorder and in-stock baskets.
- Keep release estimates distinct from dispatch dates.
Should box artwork be the main product image?
It can help customers recognize a kit, but it should be accompanied by useful information about the contents and finished size. Add parts or manufacturer build photographs when available and label any optional detailing. A dramatic illustration does not tell a first-time buyer how much assembly or painting is involved.